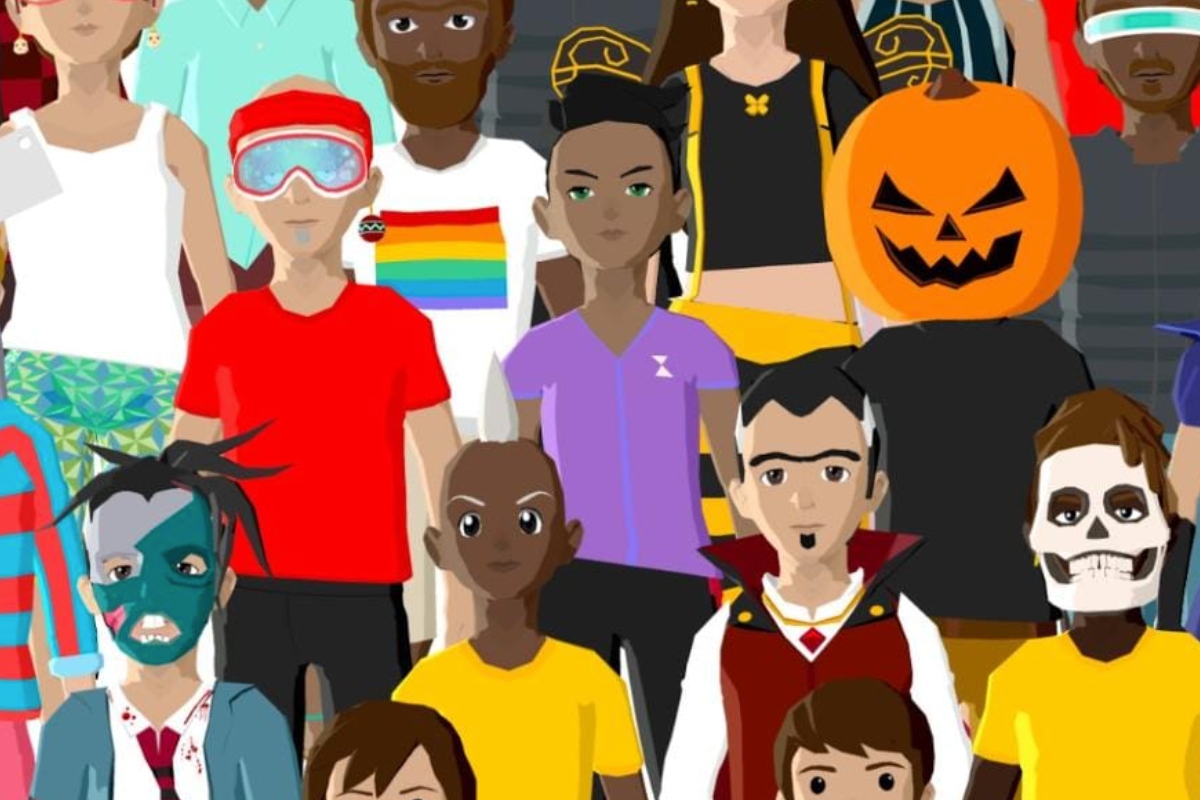
DECENTRALAND wearables range from hats and masks, to fancy dress costumes and pumpkin heads.
All wearables are NFTs and can be bought and sold on the open marketplace.
As of June 2021, users can now even create their own Decentraland wearables which can be used in-world or sold on the open market.
Here’s everything you need to know about creating wearables in Decentraland.
What are Decentraland wearables?
Decentraland wearables are items your Avatar wears while in the World Explorer.
Wearables can be worn on an avatar’s feet, lower body, upper body, face and head.
Decentraland avatars come preloaded with a number of free wearable options to dress.
But there are also a number of wearables that can be purchased for a price from other users, from Decentraland directly or created by the user.
Those wearables are stored in a user’s wallet as NFTs and can be sold to other users on secondary marketplaces.
The two most popular exchanges are the official Decentraland Marketplace and OpenSea.
Rarities
Decentraland wearables are in five different rarity categories: Uncommon – Swanky – Epic – Legendary -Mythic.
The rarity categories are in line with the number of tokenized wearables that can be minted (created) for each design.
Sign up to get our weekly cryptocurrency, NFT and metaverse news round-ups direct to your inbox
How can I create wearable NFTs in Decentraland?
To get started you need the Blender 3D software application which is free to use.
You can download it HERE.
Users will also need to download the 3D model reference files that Decentraland offers on their website HERE.
They can also be downloaded directly from Github HERE.
- First open up the Blender.
- Import the wearable reference file – you will then be able to navigate and become familiar with all of the controls.
- Before creating your wearable you need to make sure you’re making it for the correct category, so if you’re designer a hat you want to focus on that. If you’re not sure what you want to create you can have a look on OpenSea and filter by their categories to can see how things can be customized and how rare each asset is.
- Then add an object.
- Once you’ve created your wearable you can colour it.
- Click new and add texture.
- For efficiency it’s easier to download the colour pallet from Decentraland HERE.
- Find the file on your computer and link it to the property colour.
- Then head over to UV editing.
- Hide all of the other layers so it’s just the structure and the object.
- Select the object and click ALT+P on the keyboard.
- Then select clear and keep transformation.
- You then want to select both the object and the structure.
- Click Control P.
- Select with automatics weights.
- You now need to make sure the object is in sync with the avatar.
- Select the rotation tool and rotate the structure – the object should be following the rotation.
- If it isn’t you haven’t done something correctly.
- We’re now done.
- EXPORT.
- Head over to Decentraland’s ‘Builder’.
- Select new item.
- Create a collection and name it.
- Now drag and drop the item into the collection.
- Open the editor and you should be able to see the wearable with your avatar.
How can I buy Decentraland wearables on OpenSea?
The average price of Decentraland wearables is around 2.7 ETH ($8,500), so expect to pay around that to secure an NFT.
- Fund your wallet with cryptocurrency to buy your NFT.
- Most NFTs on OpenSea are bought and sold using ETH, the native crypto of Ethereum. Make sure you have enough ETH in your wallet to cover the cost of the NFT and any related fees, like gas fees.
- Find your NFT on OpenSea. OpenSea has hundreds of thousands of NFTs listed, so look through different collections.
- Transfer ETH to a web3 wallet such as MetaMask.
- When you’re ready to make your purchase, click the “Buy Now” button on the NFT you’re interested in. OpenSea will show you the total cost, including fees.
- After purchasing be sure to approve the transaction in your MetaMask wallet.
